

If you’ve started playing with Azure Stack, you might notice that the Windows Server 2012R2 image is a little behind on its Windows patches. Before you do any heavy duty testing, you’re going to want to update the image with the latest patches. This is a multi-step process:
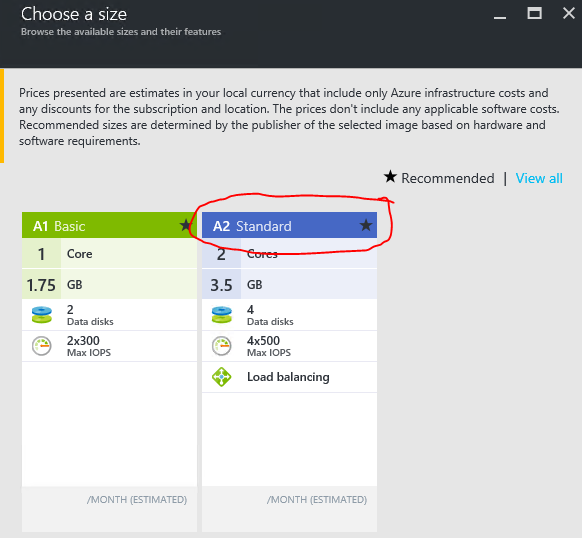
I’m not going to walk you through deploying a VM in Azure Stack, but I will recommend that you use the A2 size. Installing the update should go a little faster on a system with more horsepower.
You could manually update the VM with all the Windows Updates, but why do that when there’s PowerShell? I’m making use of the Windows Update PowerShell module available on the TechNet gallery. All you have to do is copy this script from my Gist to the target VM. Then run it. The script will download and import the module, install the available Windows Updates, and then create a scheduled task to run again on startup. It should keep running until there are no updates left. Fire away and come back in a few hours depending on your internet connection. It took an A2 VM about four hours to patch when I last ran this. Glad I didn’t have to babysit it!
Now that your VM is properly patched up, it needs to be prepared for use as an image. Fortunately, all the necessary settings and VM agent are already installed. From an administrative command prompt run sysprep:
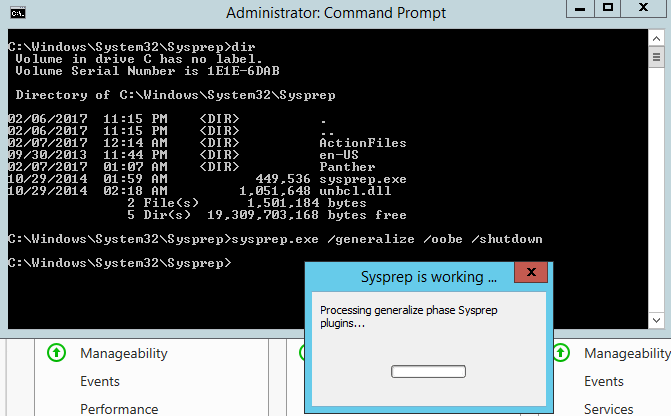
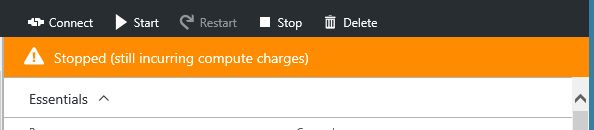
The VM will shutdown when sysprep is complete. Make sure that you go into the portal and stop it from there, so it is deallocated properly.
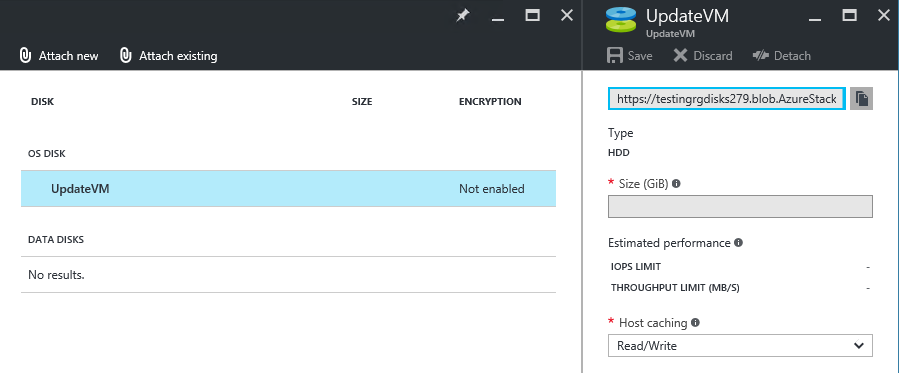
The VHD location for the VM will vary depending on the storage account you used. From within the portal, go to the VM’s Disks
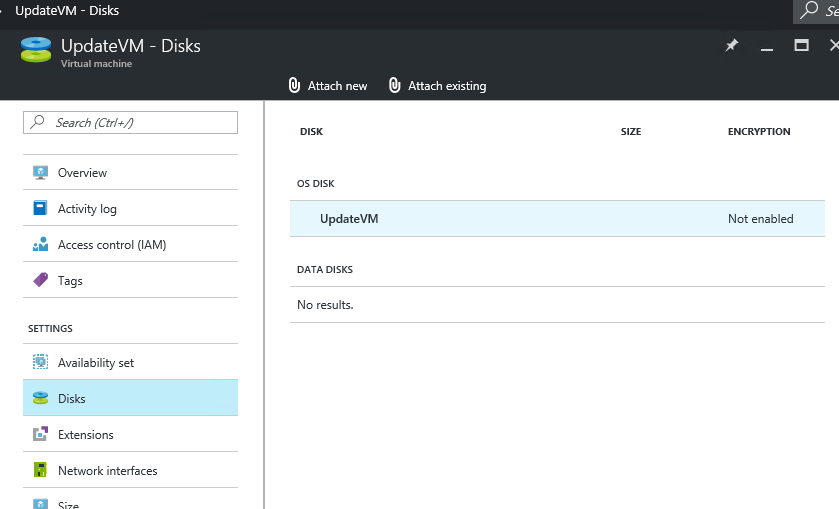
Select the OS disk and then copy the blob URI by clicking on the neat little clipboard icon. Paste that value into notepad or something similar.
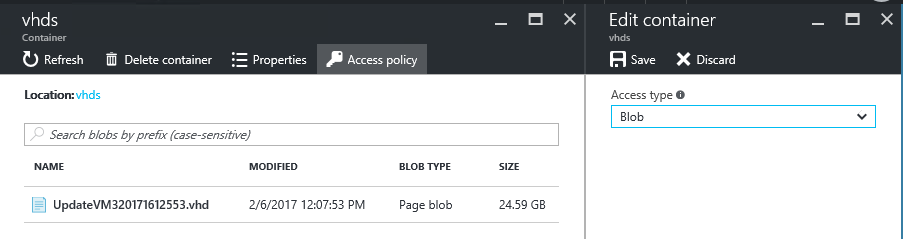
Go into the storage account that was used to store the VHD. The blob properties of the VHD need to allow anonymous access. Select the Blob portion of the storage account, and then select the container which houses the vhd (usually vhds). Change the Access policy to Access type to Blob.
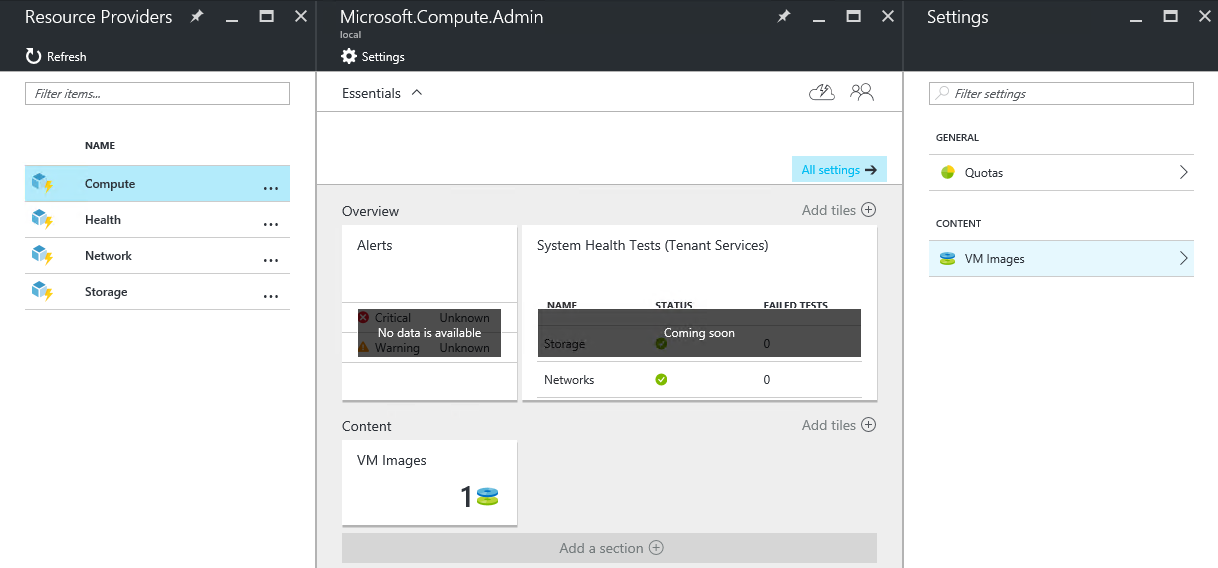
Now we’re going to add a new version of the Windows 2012R2 image. In the portal select Resource Providers

Select the Compute RP and then click on the VM Images on the far right
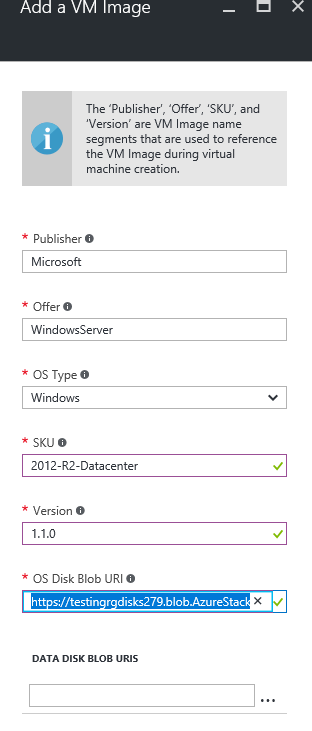
Click on the 2012-R2-Datacenter image and copy all the values to notepad
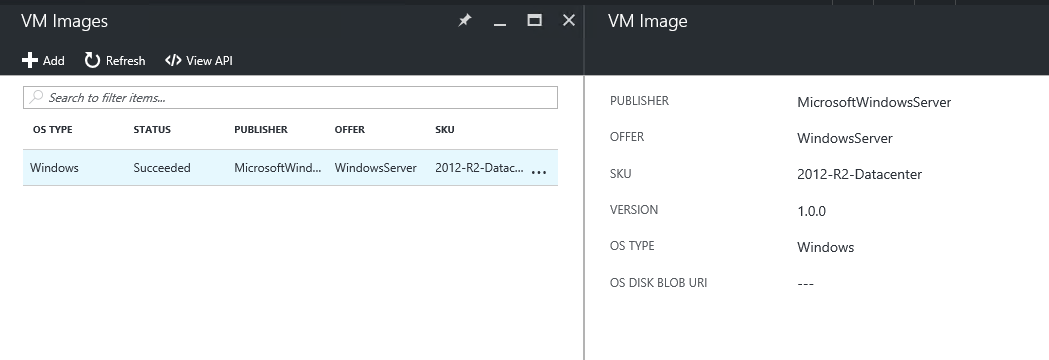
Now click on the Add button and use the previous values to fill out the fields. Be sure to increment the Version number in. In my case I went from 1.0.0 to 1.1.0.
Now click the Create button and wait. Once the creation process is complete, you will have a fully patched Windows Server 2012R2 image to use for your Azure Stack deployments. My creation time was about an hour, so don’t be surprised when it doesn’t create immediately.
You might wonder what happens with the existing Gallery Item that was using the version 1.0.0 template. Good question! The templates for the marketplace are unsurprisingly stored in a storage account in the System.Gallery Resource Group. If you dig down into the storage account you will find the blob container with the marketplace item here: dev20151001-microsoft-windowsazure-gallery/MicrosoftWindowsServer.WindowsServer-2012-R2-Datacenter.1.0.0
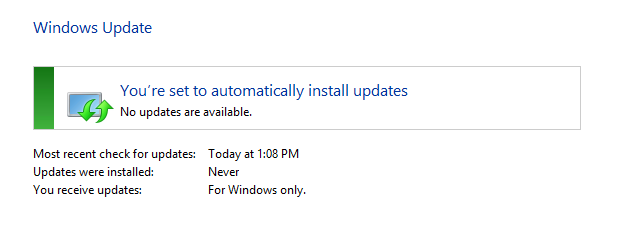
The template that controls deployment is called CreateUIDefinition.json. And that file doesn’t reference an actual version of the template. So despite the fact that the Gallery Item description claims that it uses the 1.0.0 version, it should use the latest version (1.1.0 in my case). I created a new VM to test, and as you can see, no Windows Updates were available.
PS - You can also add an image using PowerShell. If you’d like to know more about the process, then check here and use the same values you would have in the portal.
Here’s the full PowerShell script if you’re interested:
May 23, 2026

May 4, 2026


