

This is part 3 in a series. You can find part 1 here and part 2 here. Part 4 is now available here.
As I mentioned in my previous post, I was “ready” to deploy my TFS deploy template to Azure Stack. And as predicted, the universe laughed at my funny plans. The deployment failed due to a required Windows Update on the target image. I didn’t run into this on Azure b/c the Windows Server 2012R2 image on Azure is more up to date than the one that ships with Azure Stack. At this point I could have just installed TFS and Visual Studio manually, but no I refuse to give up my dreams of an automated future. I spent the next week creating a PowerShell script that will install all available, required Windows Updates, and then reboot and repeat until there are no updates left. Then I ran that script against a Windows Server 2012R2 VM in Azure Stack, and used that updated VM to create an updated VM Image. You can read all about that adventure here. Let’s just say that the yak is well and truly shorn.
Once I had the updated image, my TFS template deployed successfully, although the Output windows from Visual Studio claims otherwise.
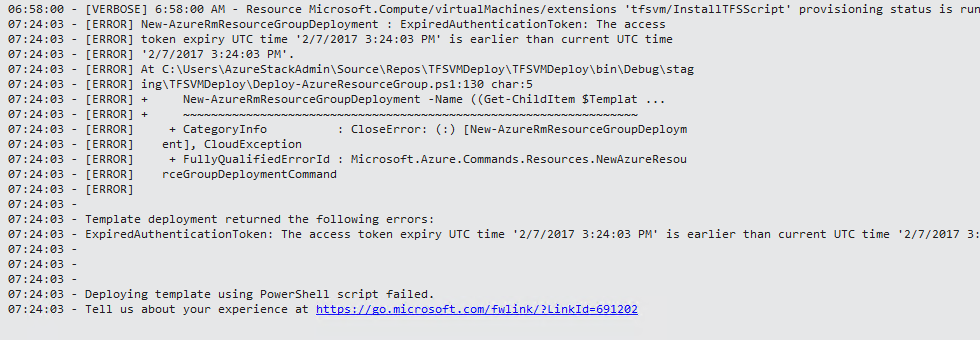
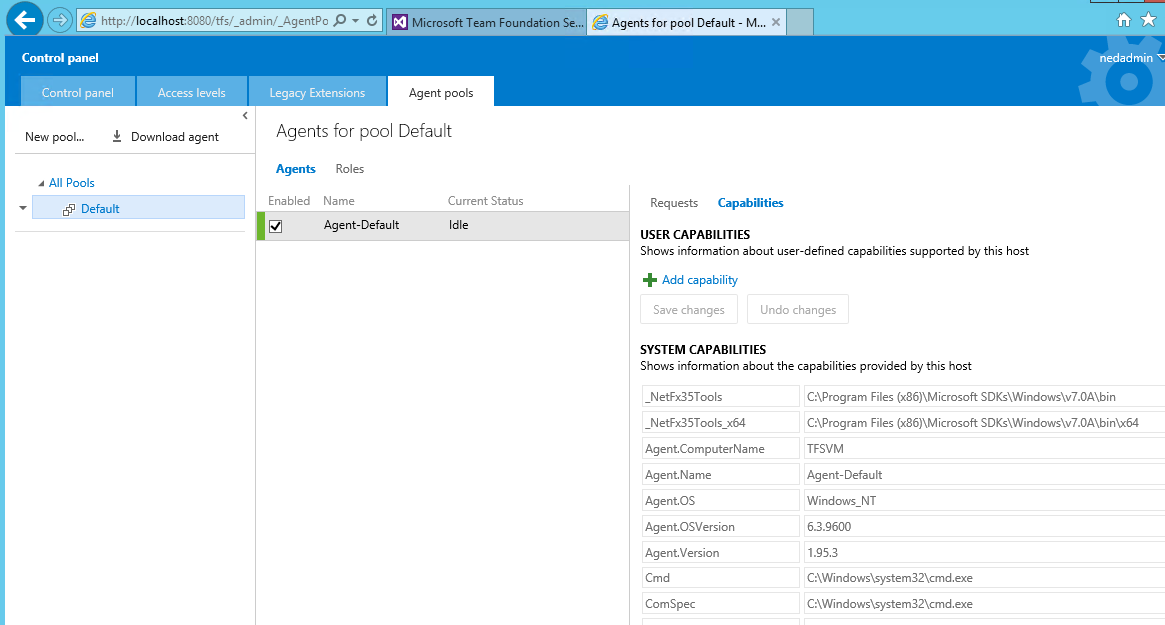
What actually happened is that the access token that Visual Studio was using for the deployment expired during the deployment. The actual template was successfully deployed and my script ran without issue. When it was all done I had a A2 instance running TFS, Visual Studio, and a Build Agent as shown below.
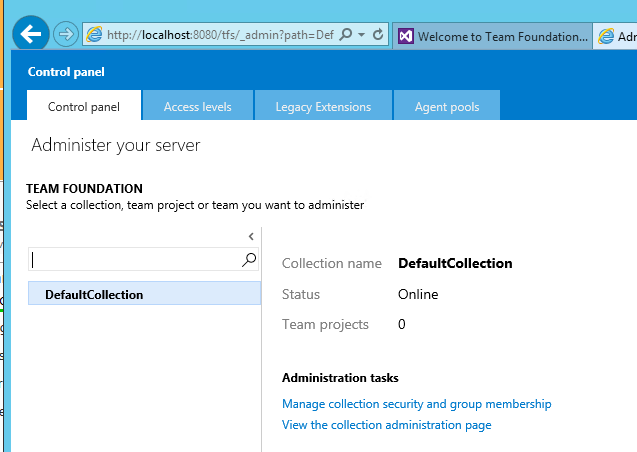
Now I can finally get on with setting up my build pipeline. The first step is to create a new project. In the Control panel I select the DefaultCollection and View the collection administration page.
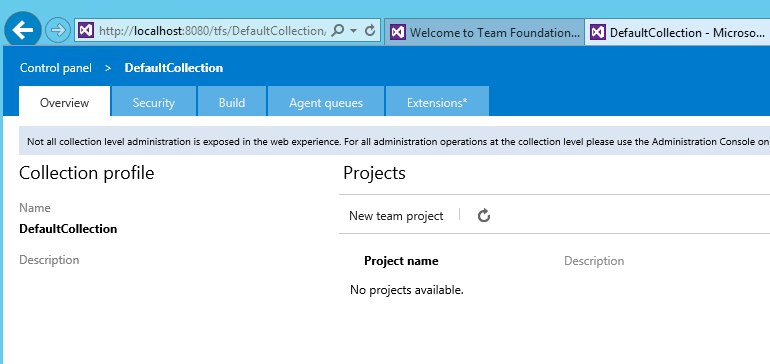
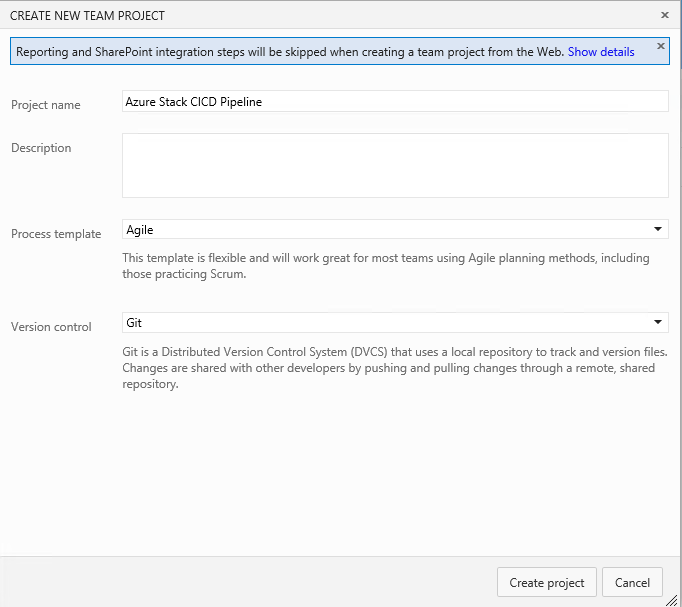
In the Overview tab I create a New team project.
The new project is my Azure Stack CICD Pipeline, and I am choosing to use Agile and Git for the process template and version control. So far I like Git over Team Foundation version control.
Gears turn, cranks whir, and a bell rings *ding*

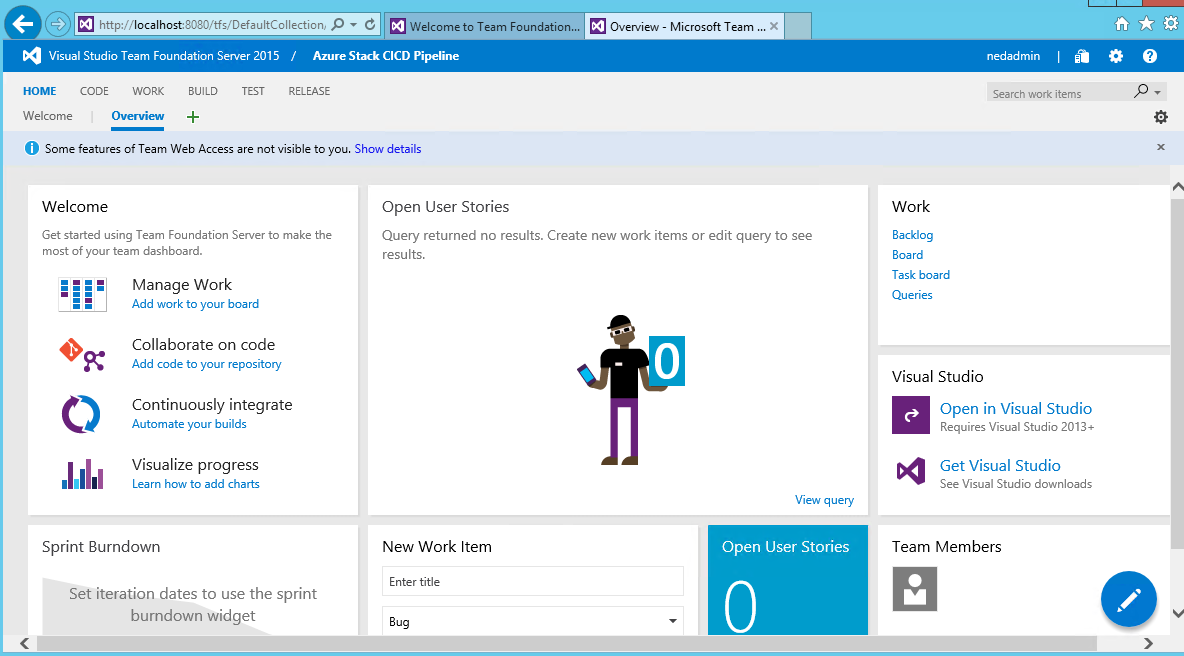
Clicking to go to the project, I end up on the project Overview page, where an immaculately hip developer greets me with indifference and a cell phone.
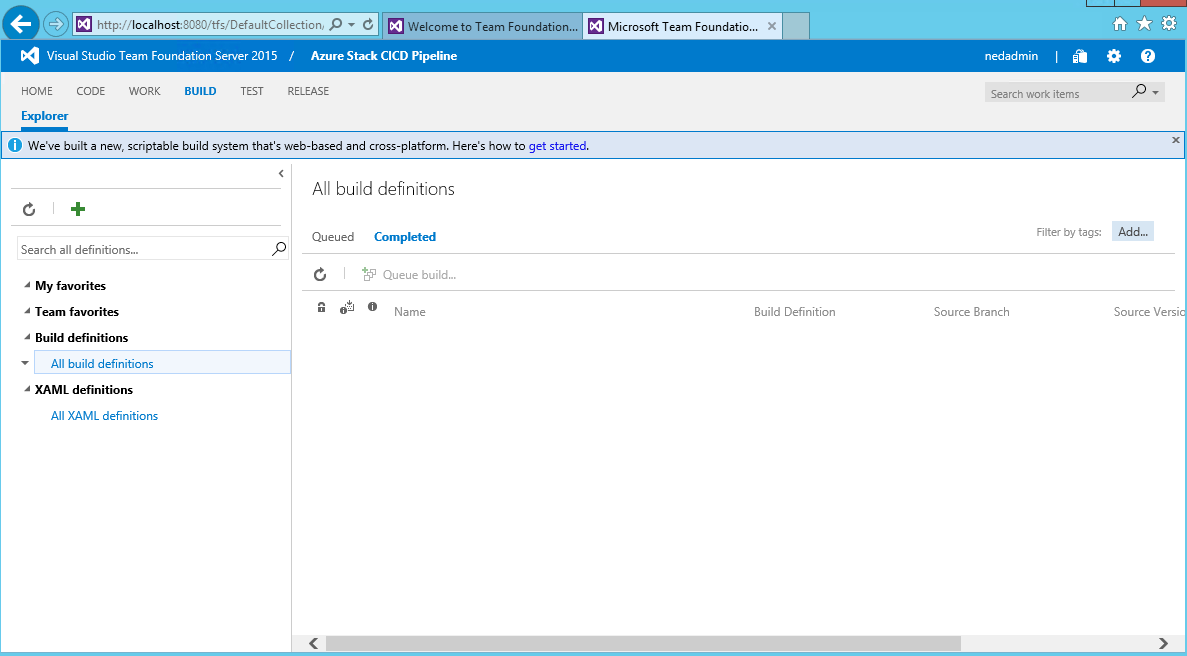
I am going to create a build definition, so I click on the BUILD tab (all caps for some reason?) and select the All build definitions area.
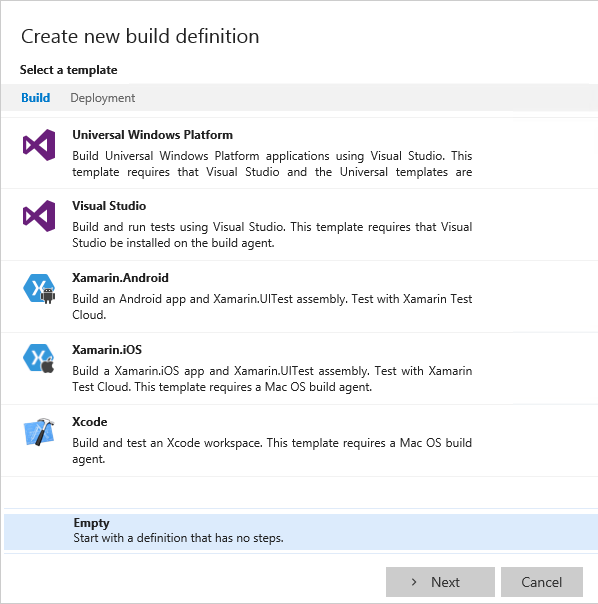
I create a new build definition by clicking the green + sign. Since we are deploying an Azure Stack build, I select an Empty build definition.
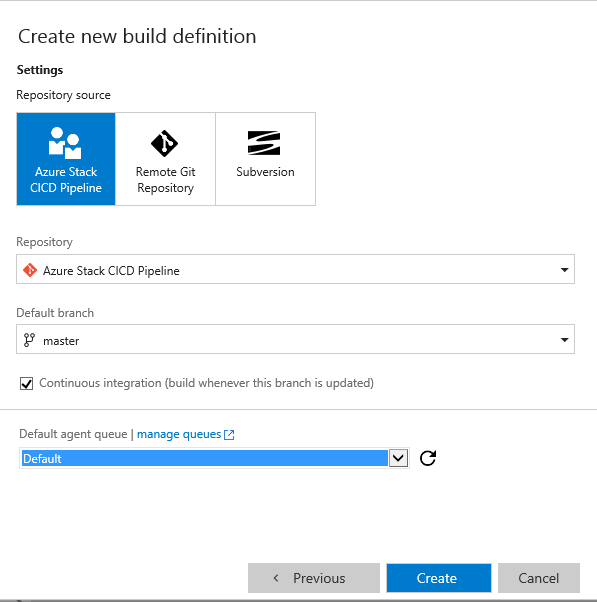
For the build definition, I accept the defaults and click on Create.
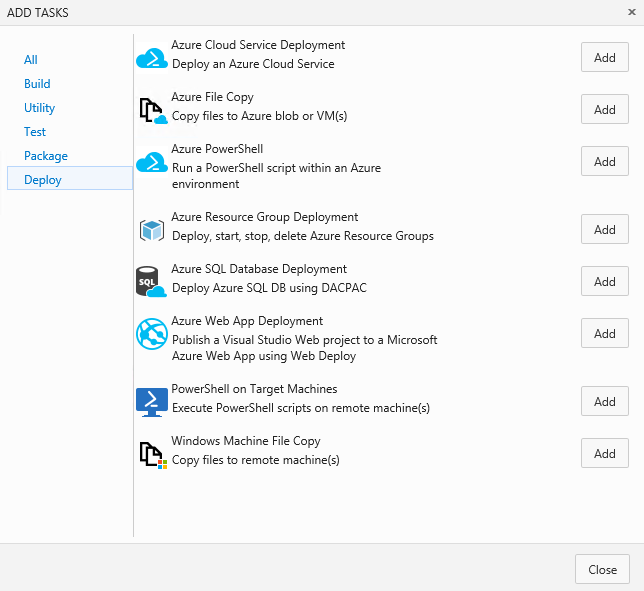
Now I am going to add the task to deploy an ARM template to a Resource Group, so I select the Deploy task type and add the Azure Resource Group Deployment.
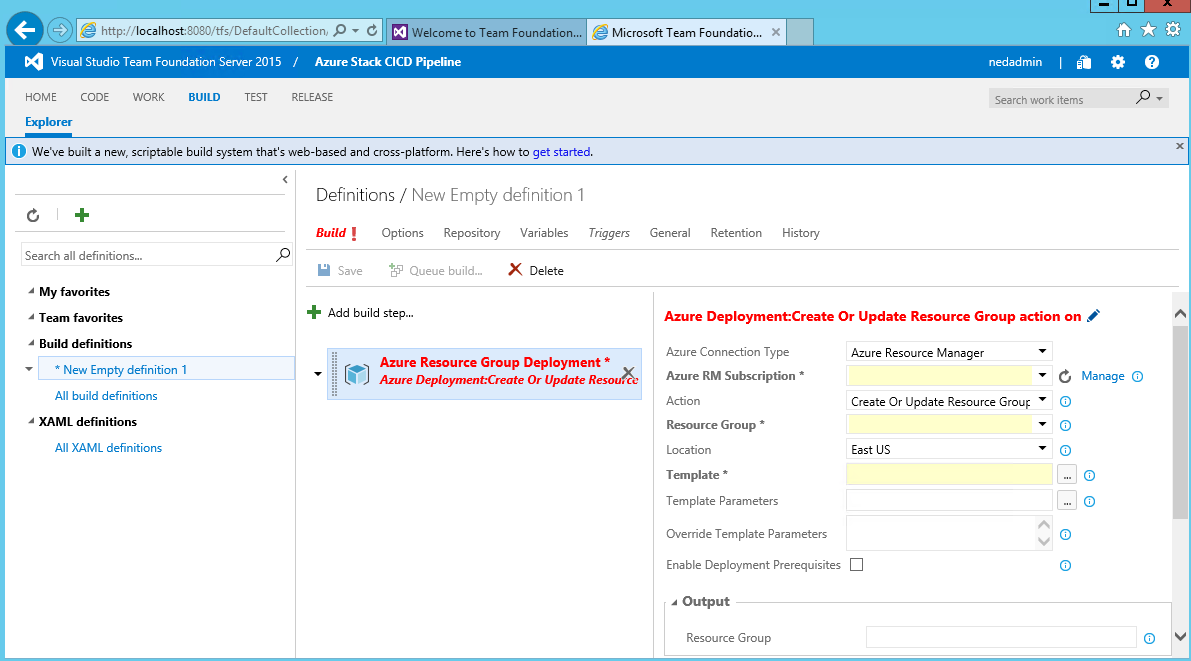
The task is added to the build definition, but I haven’t added any Azure RM subscriptions. I click on the Manage link to add one.
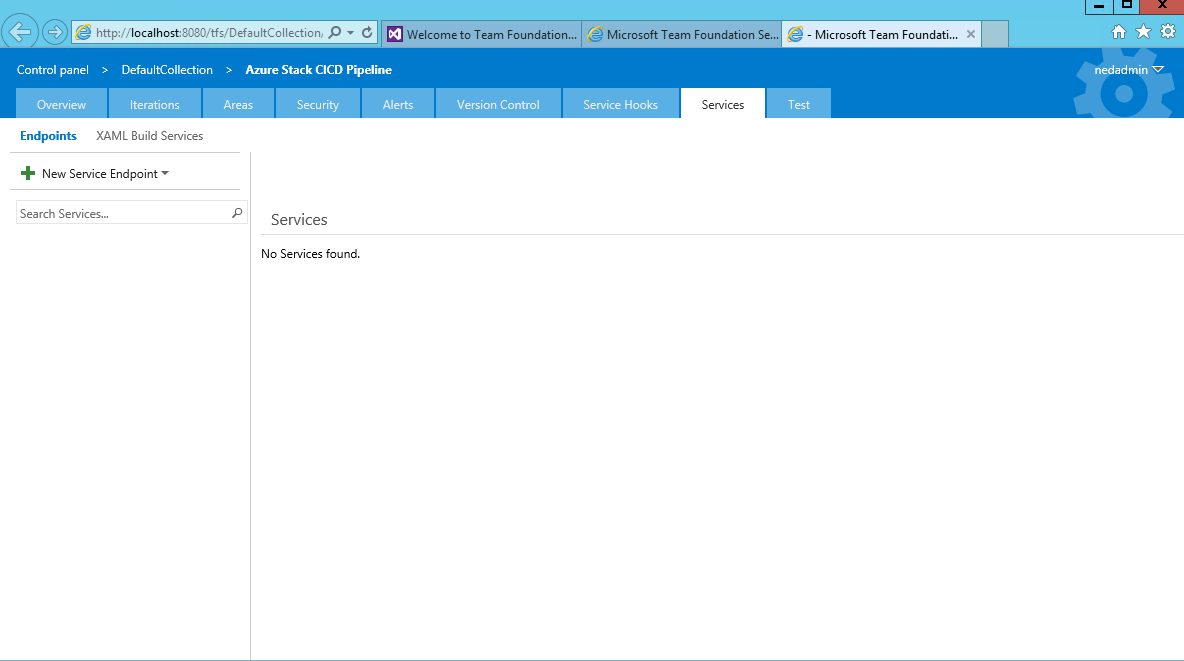
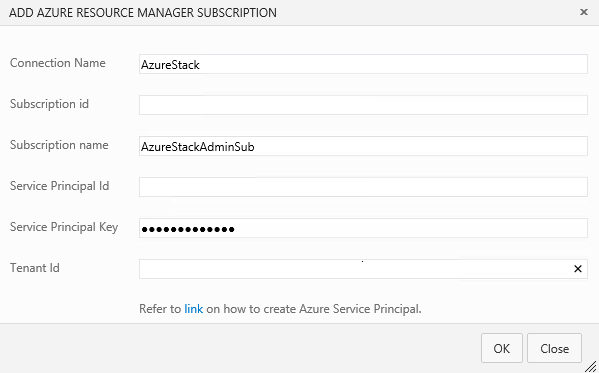
That takes me to the Services tab for the Project, and I choose to add a New Service Endpoint of the Azure Resource Manager Subscription type.
The service endpoint is going to need for me to create a Service Principal in the Azure AD environment with permissions to Contribute to the subscription. There is a nice PowerShell script out on Microsoft, along with documentation for the process here. The output of the script gives me all the info I need to fill out this form.
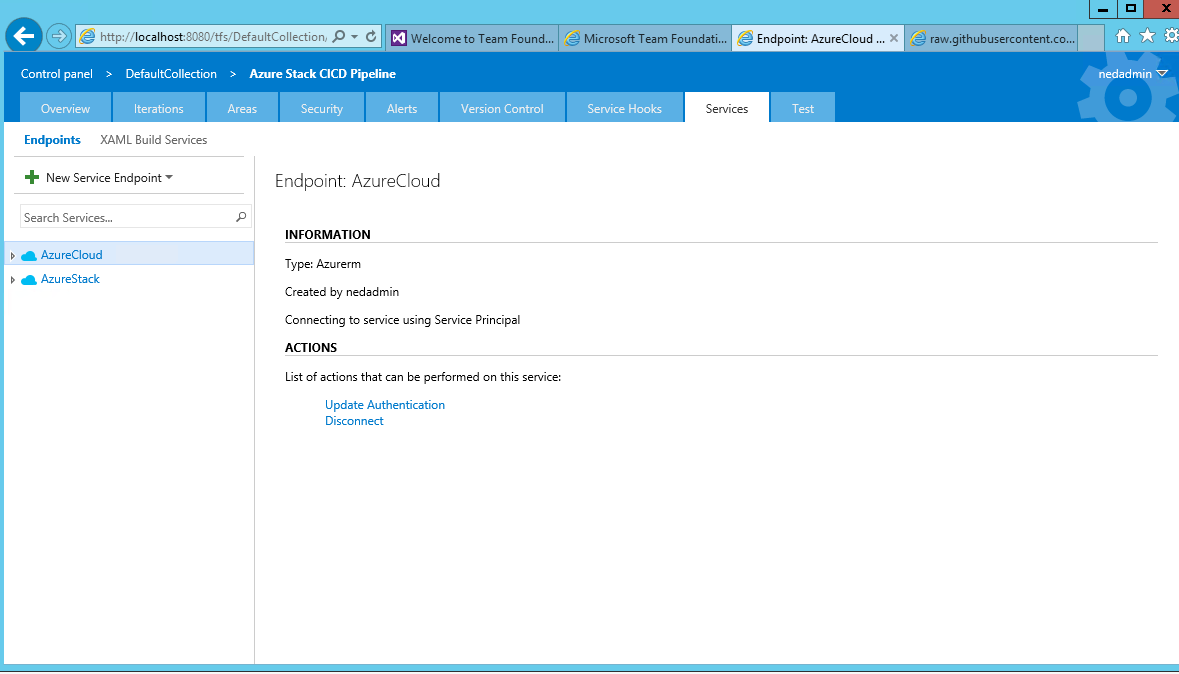
Since I plan to deploy to Azure and Azure Stack, I repeat the process for Azure. Now I have two Service Endpoints.
Back in the build task configuration, I select AzureStack from the Azure RM Subscription drop-down and… ah crap.
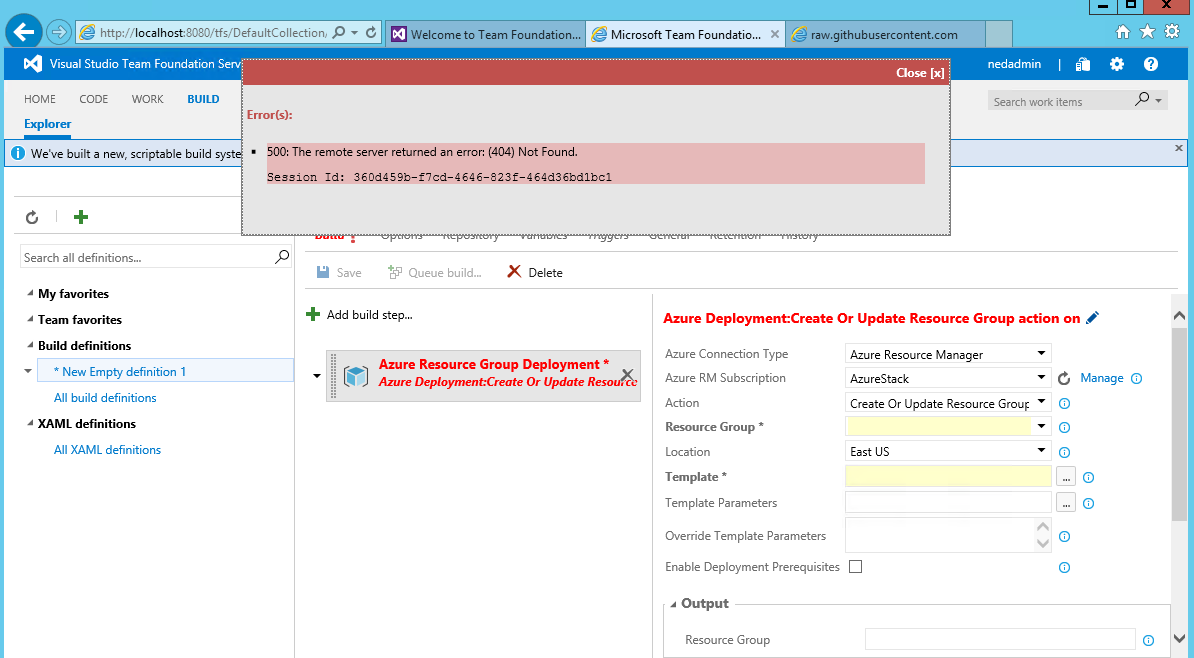
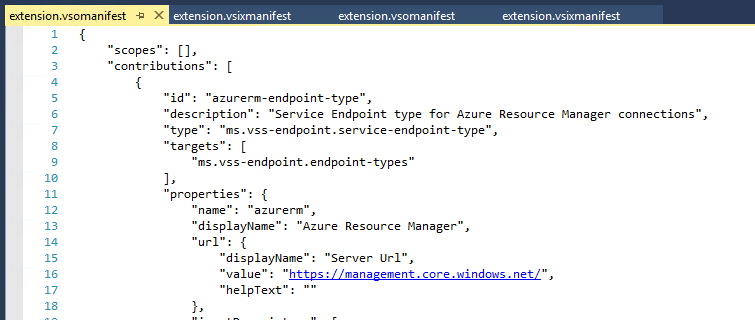
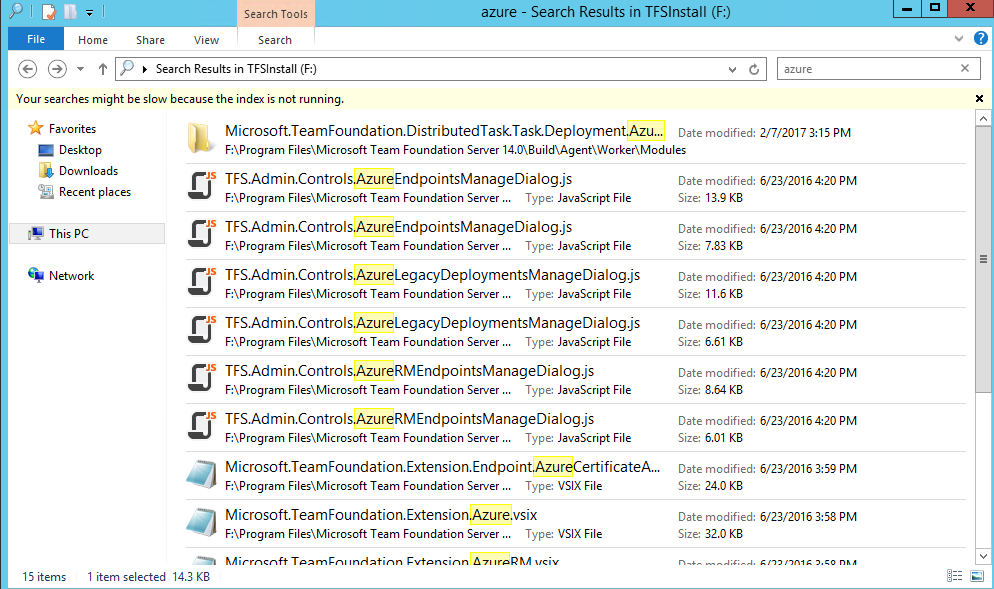
I guess I should have seen this coming. TFS has no idea how to find the local Azure Stack environment. I spent some time digging into files on the TFS server, and here’s what I found so far. There is a VSIX file in the path %InstallPath%\Microsoft Team Foundation Server 14.0\Tools\Deploy\TfsServicingFiles\Extensions called Microsoft.TeamFoundation.Extension.AzureRM.vsix. That is probably what is actually doing the work. A VSIX file is really just an archive, so by renaming it with a zip extension I was able to open the archive. Inside there are two extension manifest files. The VSO manifest file is a JSON file with the Azure RM URL defined as https://management.core.windows.net/ along with a Computer and Storage endpoint URL with the same prefix. The Azure Stack API URL is https://api.azurestack.local, so it’s no wonder that the extension could not find it.
There’s more to it than that though. There are JavaScript files for the TFS controls, a PowerShell module for the deployment task, and a web.config file that does something.
I have to say this is all above my paygrade, of approximately $0. I could try to write a new extension and service endpoint for TFS to handle deployments to Azure Stack, but I don’t think I’m quite prepared to conquer that. Instead, I am going to reach out to the Azure Stack team at Microsoft and see if they already have something in the works for TFS that I can use. I’ll post an update once I know more about what my next step looks like.
Update: After conferring with the CICD Azure Stack team at Microsoft, they suggested that I try using a PowerShell script task in TFS instead of the Azure Resource Group task. They will eventually re-tool the native TFS task to support Azure Stack, but there is no hard date on when that will happen. I can’t believe that I didn’t think of this myself; I guess I was too tied up in trying to get the native tool to work. I’m going to get to work on using the PowerShell task, and be back with post 4 shortly!
May 23, 2026

May 4, 2026


